
Download Tecno I3 Pro DA Bin file - Bypass Tecno I3 Pro FRP
Download Tecno I3 Pro DA Bin file - Bypass Tecno I3 Pro FRP. This Download Agent file will be of great use when bypassing FRP in Tecno I3 Pro and also when flashing the stock ROM using some flash tools.
For new Tecno MTK devices, you will encounter many errors using MTK tools. Some of these errors are authentication or buffer errors that comes during flashing a ROM or IMG file. These all errors can be fixed with the help of a secure Download Agent file (DA Bin file).
About the Tecno I3 Pro
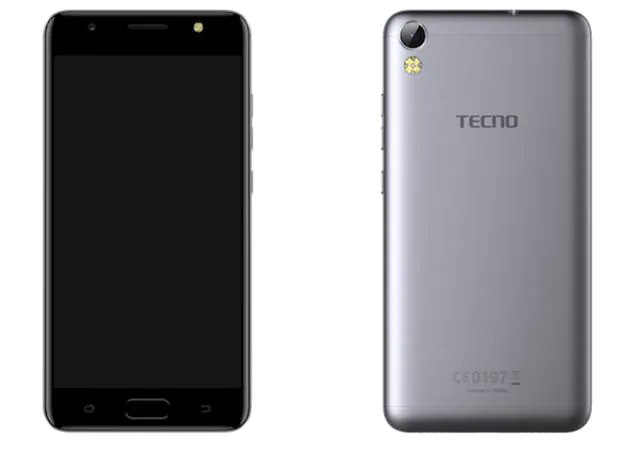
Tecno i3 Pro mobile was launched in April 2017. The phone comes with a 5.00-inch touchscreen display with a resolution of 720x1280 pixels. Tecno i3 Pro is powered by a 1.3GHz quad-core MediaTek MT6737 processor. It comes with 3GB of RAM. The Tecno i3 Pro runs Android 7.0 and is powered by a 3050mAh non-removable battery.
As far as the cameras are concerned, the Tecno i3 Pro on the rear packs an 8-megapixel camera. It sports an 8-megapixel camera on the front for selfies.
The Tecno i3 Pro runs HiOS is based on Android 7.0 and packs 16GB of inbuilt storage (up to 128GB). The Tecno i3 Pro is a dual-SIM (GSM and GSM) mobile that accepts Nano-SIM and Nano-SIM cards. The Tecno i3 Pro measures 142.75 x 70.50 x 7.90mm (height x width x thickness) and weighs 145.00 grams. It was launched in Champagne Gold, Sky Black, and Space Grey colours.
Connectivity options on the Tecno i3 Pro include Wi-Fi, GPS, Bluetooth v4.20, Headphones, 3G, and 4G (with support for Band 40 used by some LTE networks in India). Sensors on the phone include ambient light sensors and proximity sensors.
Requirements to use this DA file
- An MTK flash tool like SP flash tool, NCK Box or dongle, Miracle CM2 MTK, Miracle Box, etc.
- Android MTK USBVCOM drivers
- A USB cord
- A computer
Using the DA file
You can import and use this DA file with SP flash tool any other MTK flash tool like NCK Dongle. If you are using the NCK dongle, then proceed thus;
- Next, extract and launch the loader of the NCK dongle.
- Once it opens, click on the setting tab and load the Tecno I3 Pro custom DA file from where you extracted it.
 |
| loading Tecno I3 Pro DA file on NCK dongle |
- After loading the DA file, head back to the services tab and click on Reset FRP.
 |
| Click on reset FRP under services |
- At this point after clicking on the "Reset FRP" button, power off your device and connect to the computer via USB.
 |
| Power off the device and connect to the Computer |
- Now with the drivers installed, and your charging circuit working perfectly, the NCK dongle should be able to detect your device
- The bypassing process will take only a couple of seconds.
- Once done with the bypassing, you should have a screen like the one below.
 |
| Tecno I3 Pro frp reset done |
After following all the above steps, you must have successfully reset FRP on your Tecno I3 Pro